Are you planning to hike the Misery Ridge Trail at Smith Rock State Park? You’re in the right place.
My husband and I spent the weekend in Bend and decided to power through an early morning hike before heading home. But with SO many good hikes to choose from, which to do?
Ah, the Misery Ridge Trail is always an easy choice — it’s hard to grow tired of it because the dramatic (and diverse) landscape is hard to beat. But don’t just take my word for it, the pictures speak for themselves.
Read on to learn everything you need to know about hiking the Misery Ridge Trail – you’re going to love it!
Hiking the Misery Ridge Trail (Quick Stats)
- Distance: 5.5 mile loop
- Elevation gain: 1,800′
- Difficulty: Moderate/difficult
- Heavily trafficked
- About 2-3 hours to complete
- Best hiked from March to October (we hiked August 4, 2020)
- Worth it? Read on to find out
Misery Ridge Trail Hiking Tips
Parking at the Misery Ridge Trailhead
- You must pay to park at the trailhead – the fee is $5 per vehicle. Credit cards accepted.
- Flush-toilet is provided, to the left of the visitor’s center.
Practice Leave No Trace
- If you’re unfamiliar with leave no trace, it’s a measure to be a good steward of the land. You can read about the seven principals of Leave No Trace here. Let’s keep the wild beautiful.
You + Sunscreen = Best Friends (Forever)
- There’s no shade on this trail, so make sure you bring plenty of sunscreen and apply frequently.
- I swear by this sunscreen, I discovered it in France and now buy it in bulk. You’ll never catch me without it!
Wear hiking boots with good traction
- Even though the trail is well maintained, exposed roots are common. It’s easy to trip on the rocks, so set yourself up for success by wearing proper shoes. These are my hiking boots, and I’d sleep in them if I could.
Water
- During the summer months this area gets HOT. Bring more water than you think you’ll need — water fountains are currently shut off due to COVID. I never leave the house without my yellow HydroFlask (made in Bend!)
Expect crowds
- Expect crowds. We arrived at 5am and were surprised to find 8 cars in the parking lot. We wrapped up our hike at 8am and the parking lot was completely full by then. I suggest arriving before 7am, if possible.
Pups on trail
- Pups are allowed on the Misery Ridge Trail, but must be kept on leash.
Check to see if a trail is open before heading out
- Trust me, I know this sounds like a no-brainer, but it’s easy to forget to do this. Between COVID and wildfires, you never know. Plus, nature is wild, things happen.
- Call the Forest Service for real-time updates before heading out.
Hiking the Misery Ridge Trail (Trip Report)
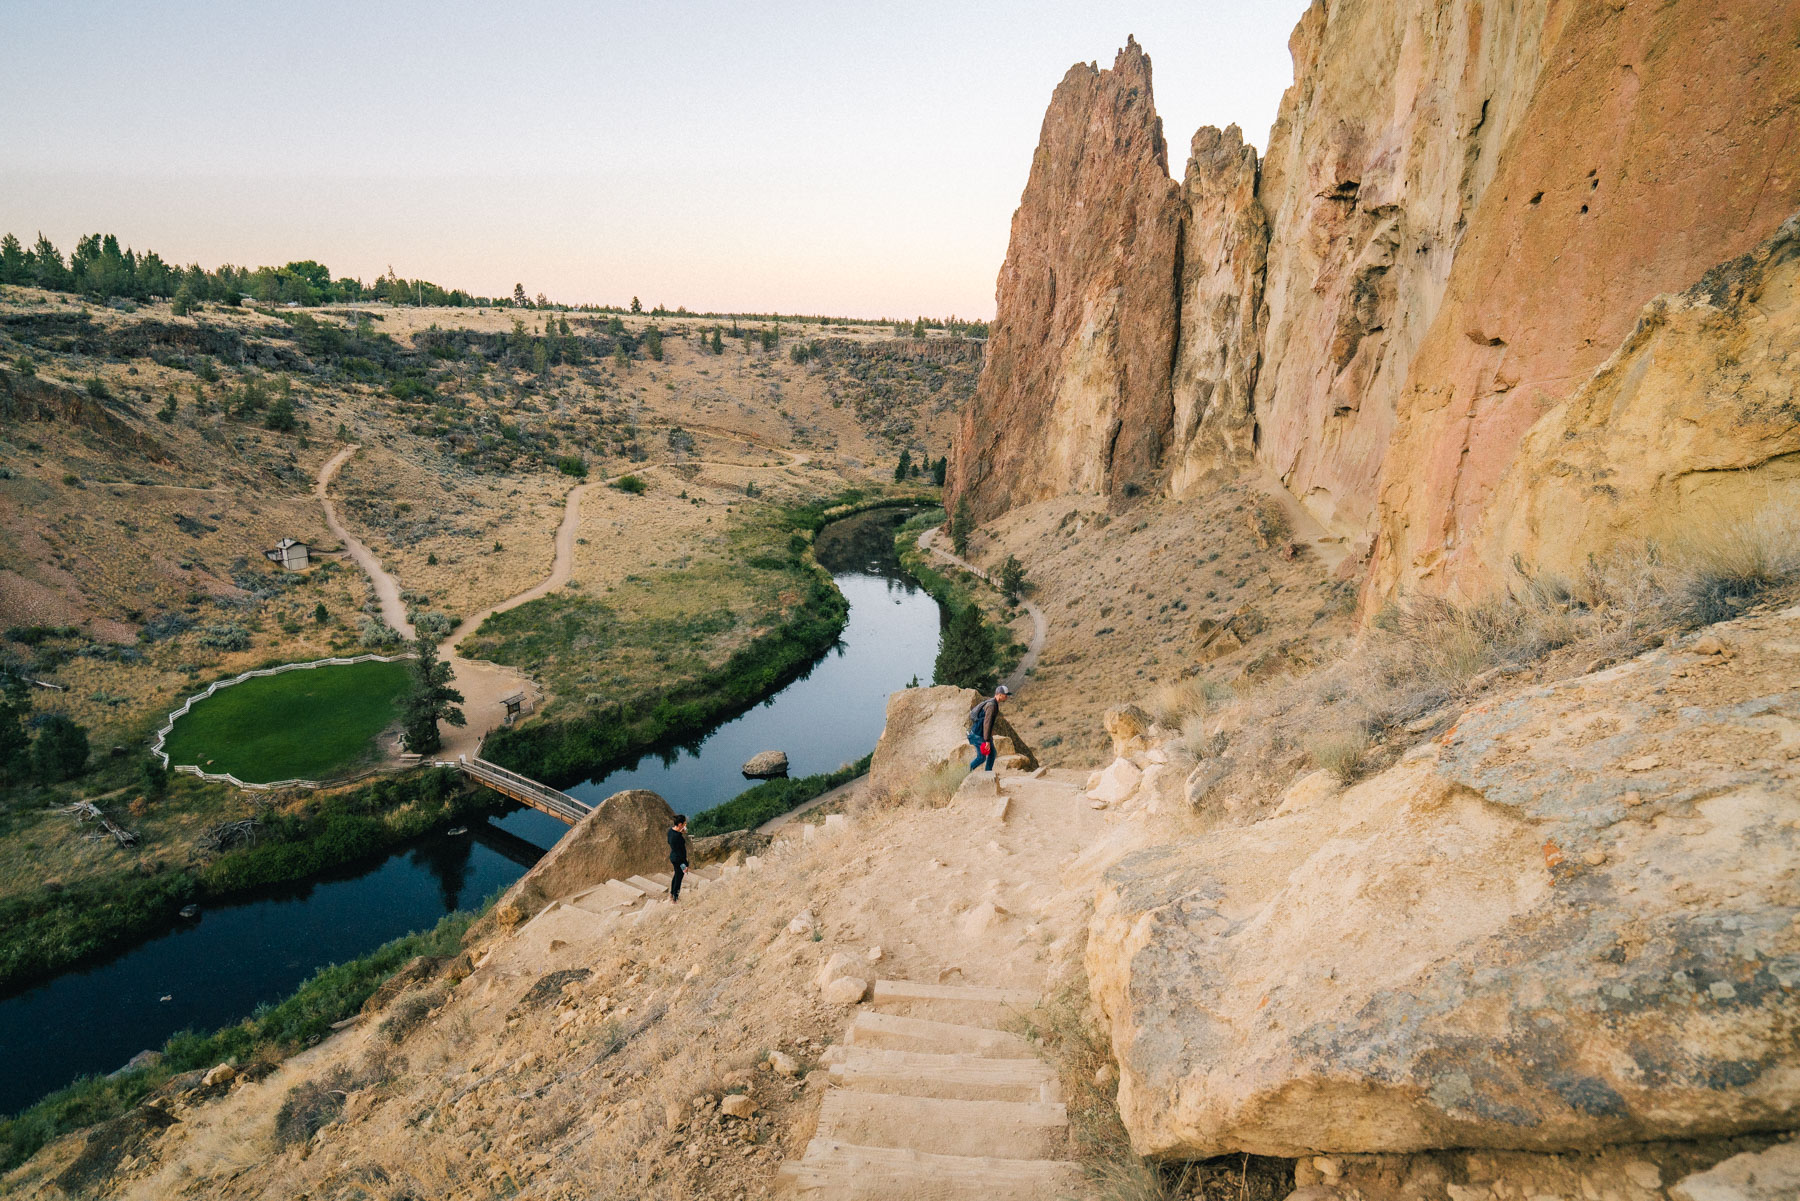
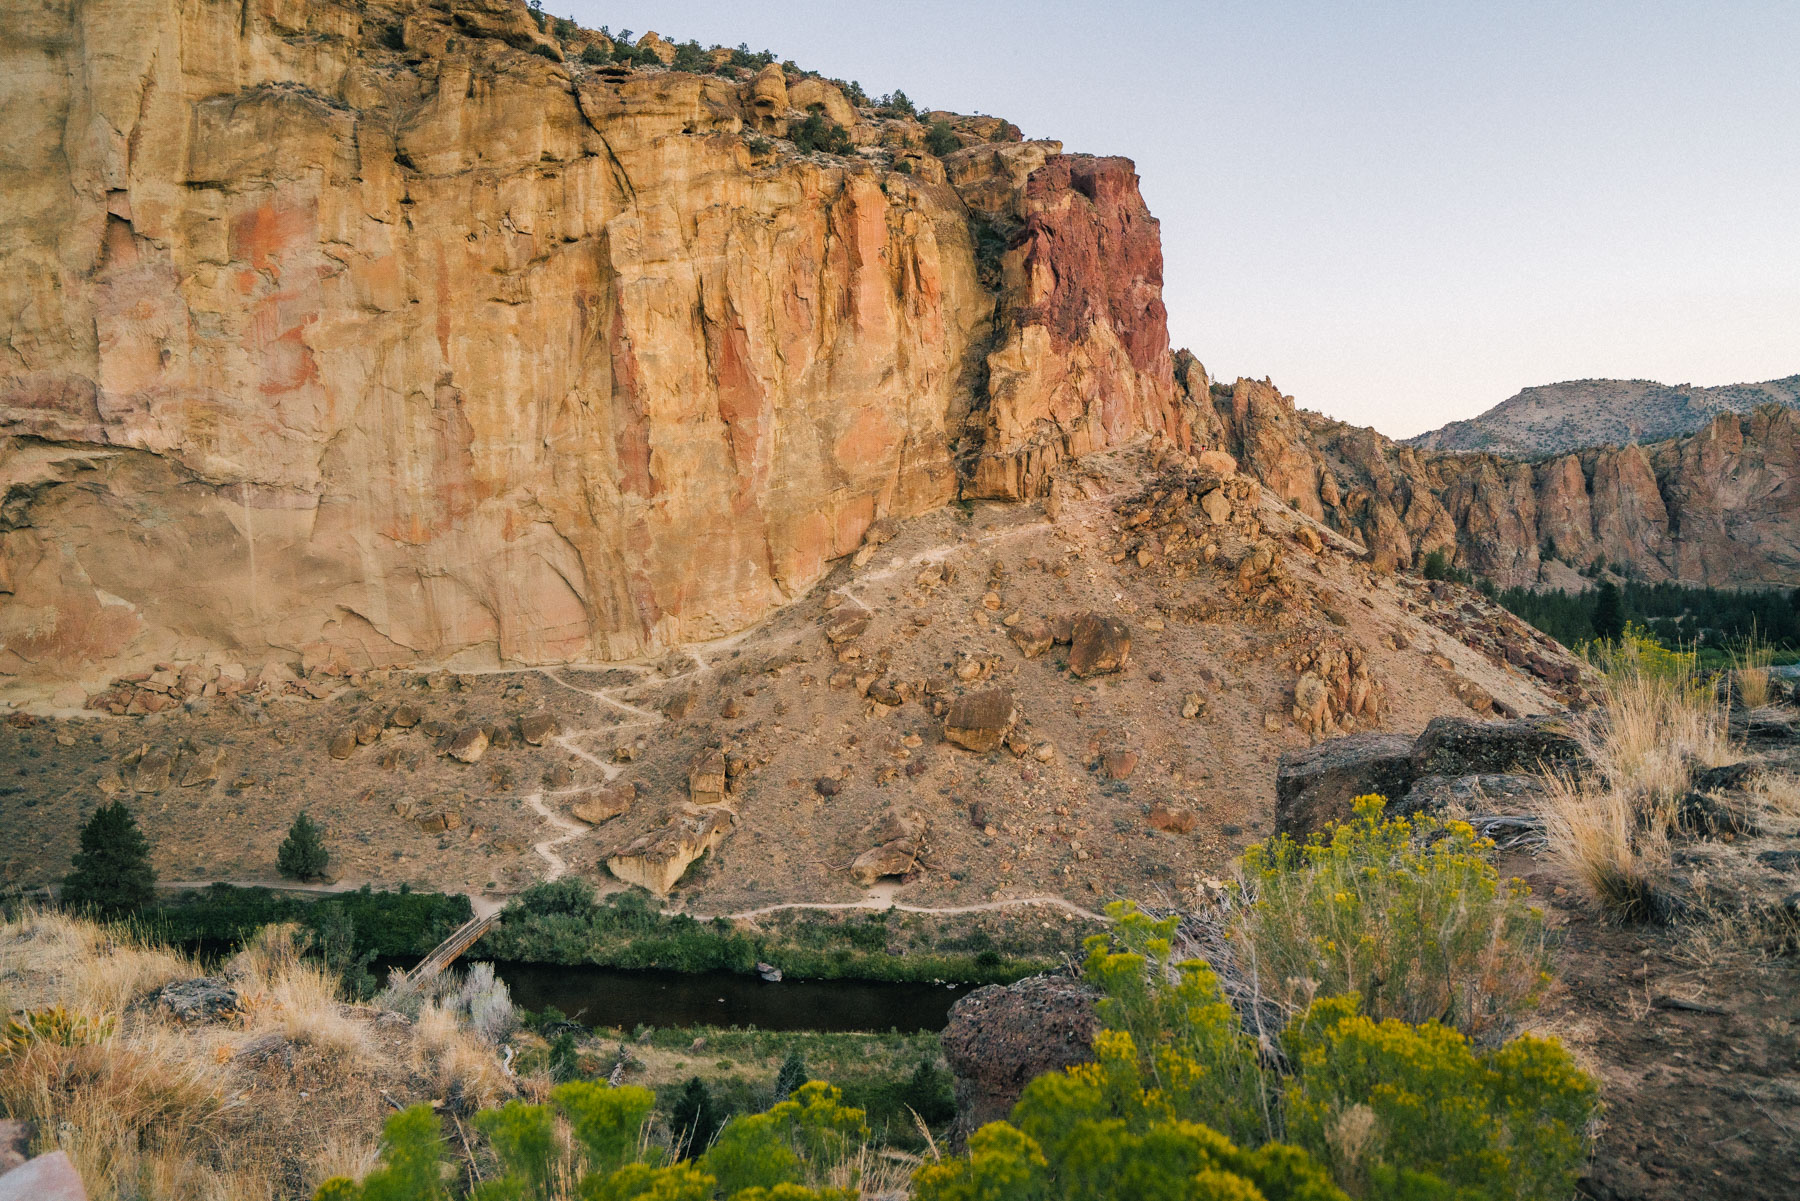
We started our hike at 5am because we wanted to catch sunrise from the summit. From the parking lot, the trail descends several feet and leads directly to the Crooked River Bridge.
You will notice a sign at the end of the bridge that read “Misery Ridge Trail.” This is where the trail officially starts.
Directly after crossing the bridge you will see the switchbacks (shown in photo below) connected by large rocky stairs. The first half of the hike is all uphill and may feel challenging — this is where you’ll gain all the elevation in one fell swoop
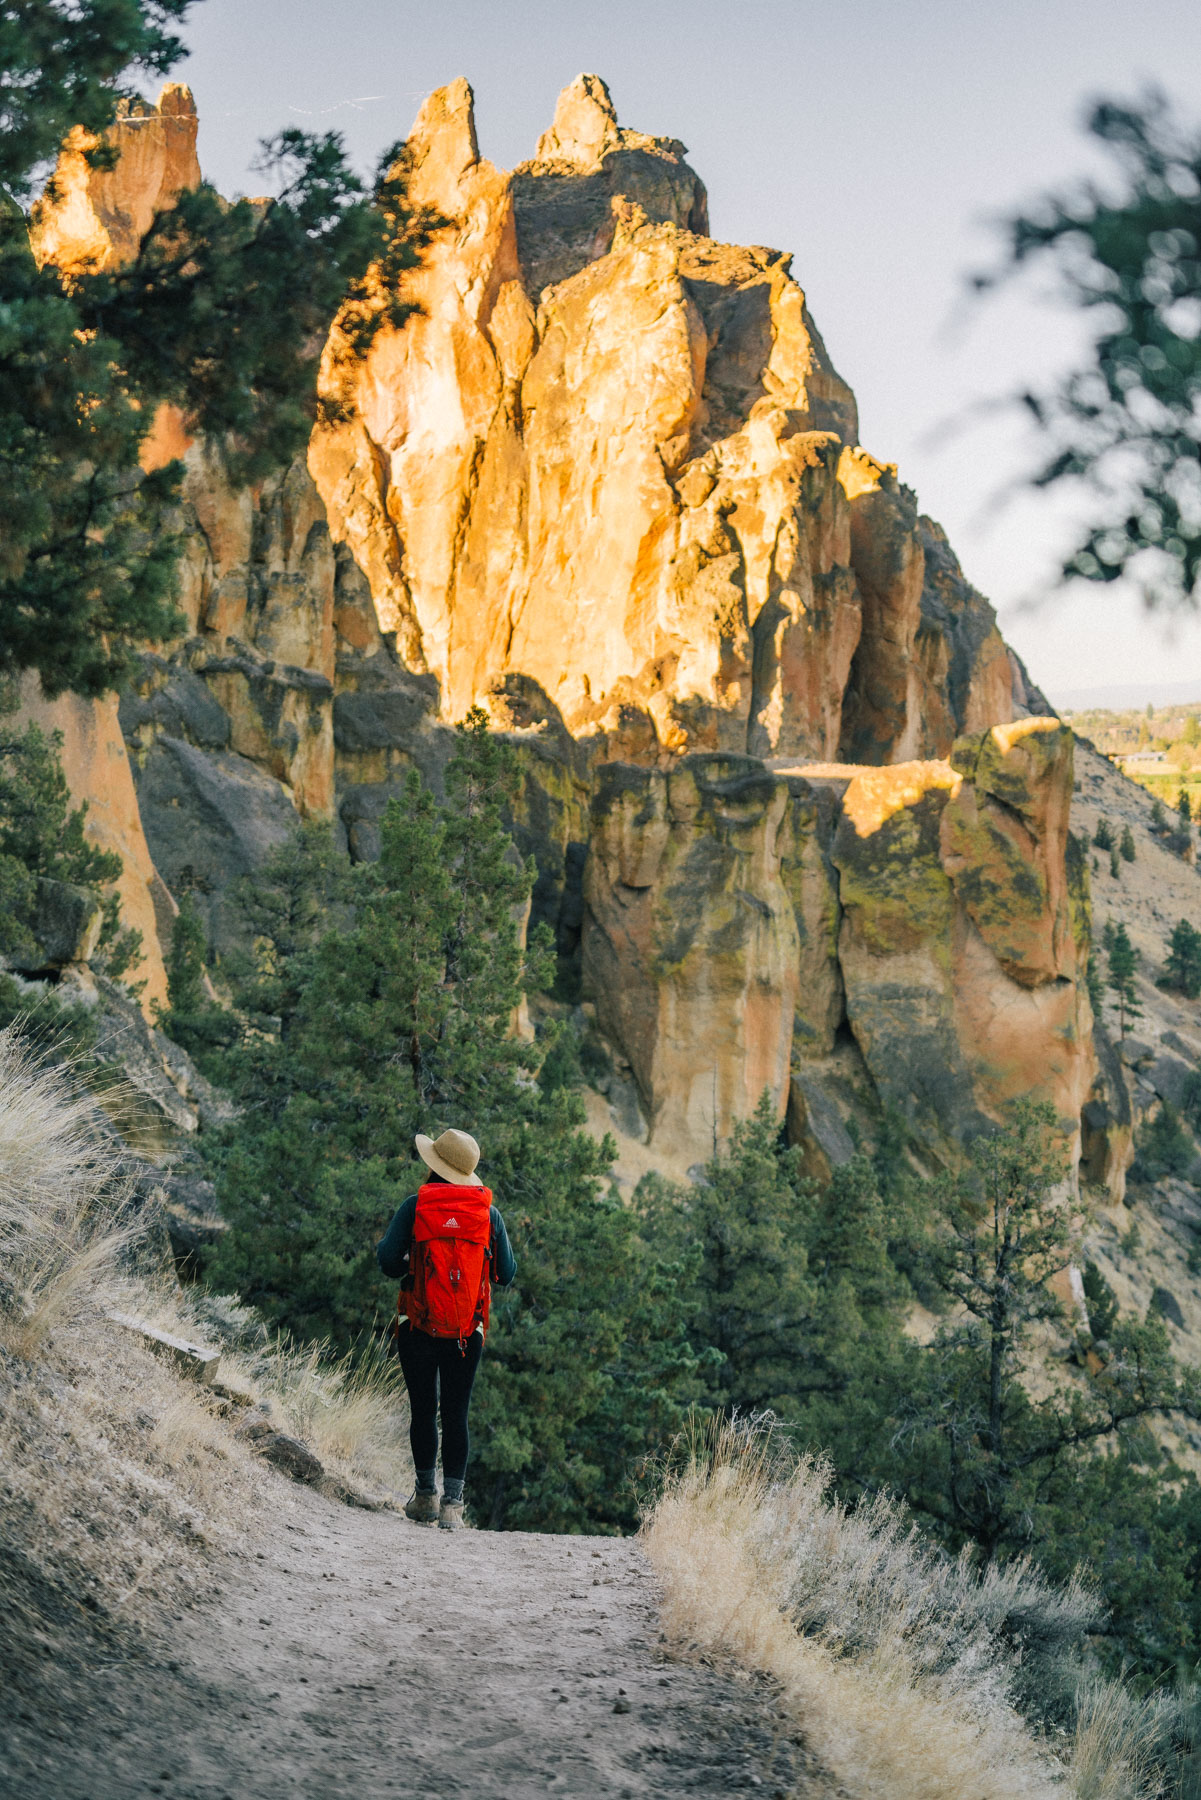
Remember to take it easy and soak in the view. Hiking is a marathon, not a sprint!
Personally, I prefer hikes where you gain elevation right off the bat because it gets the hard part out of the way first (when you have more energy).
The switchbacks last for 3/4 of a mile, but once they come to an end you will know you reached the summit! It may kick your booty, but the view is worth it!
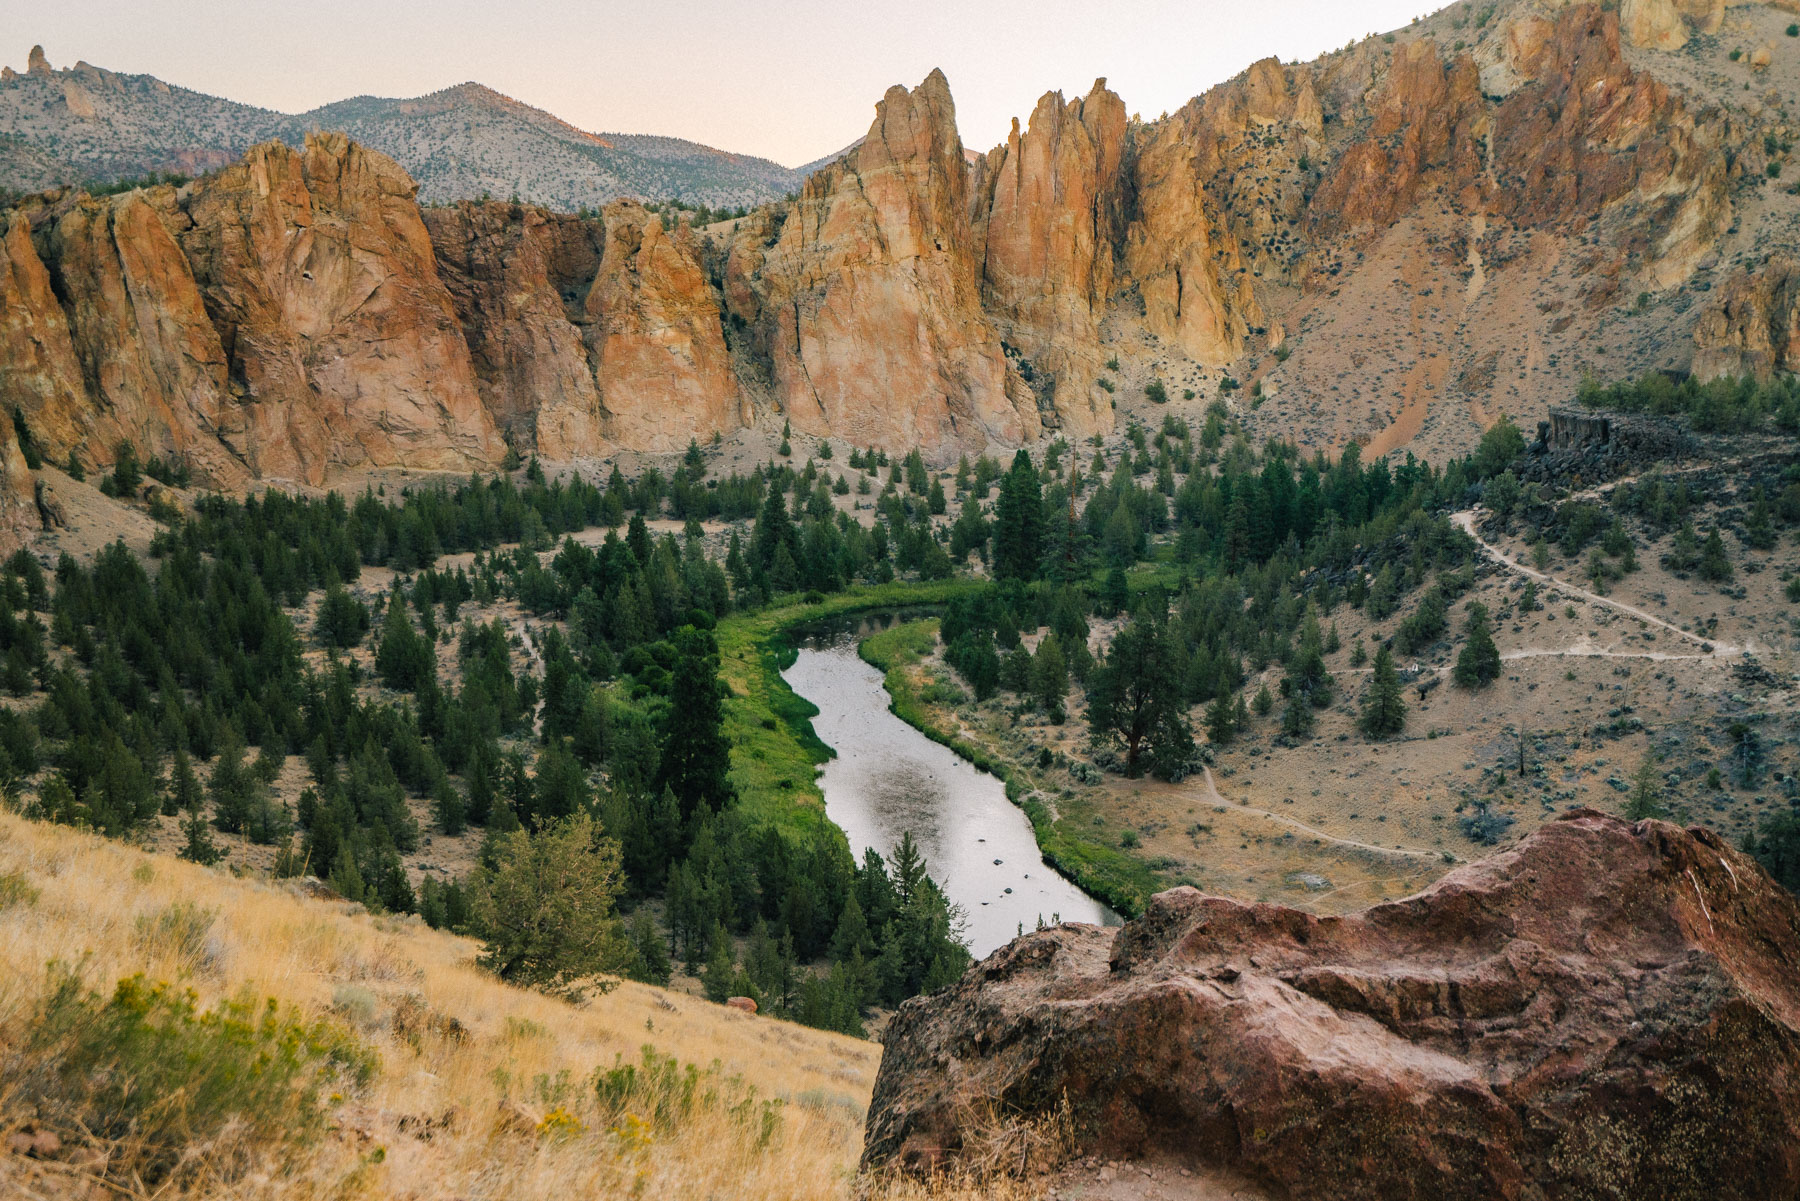
Take it slow and enjoy the panoramic views in all directions, this isn’t the time to rush. Look back on the trail and you’ll notice all the elevation gain you just made.
The glorious summit
When you reach the summit, exploring is the only thing left to do.
The trail will naturally wind around to the other side of the ridge-line, but at this point, there’s no official “view point” to end up at. Plant yourself wherever you like best. You get to choose your own adventure.
We spent half an hour at the summit soaking in the sunrise. We even saw a hot air balloon float above the rock formation. So cool!
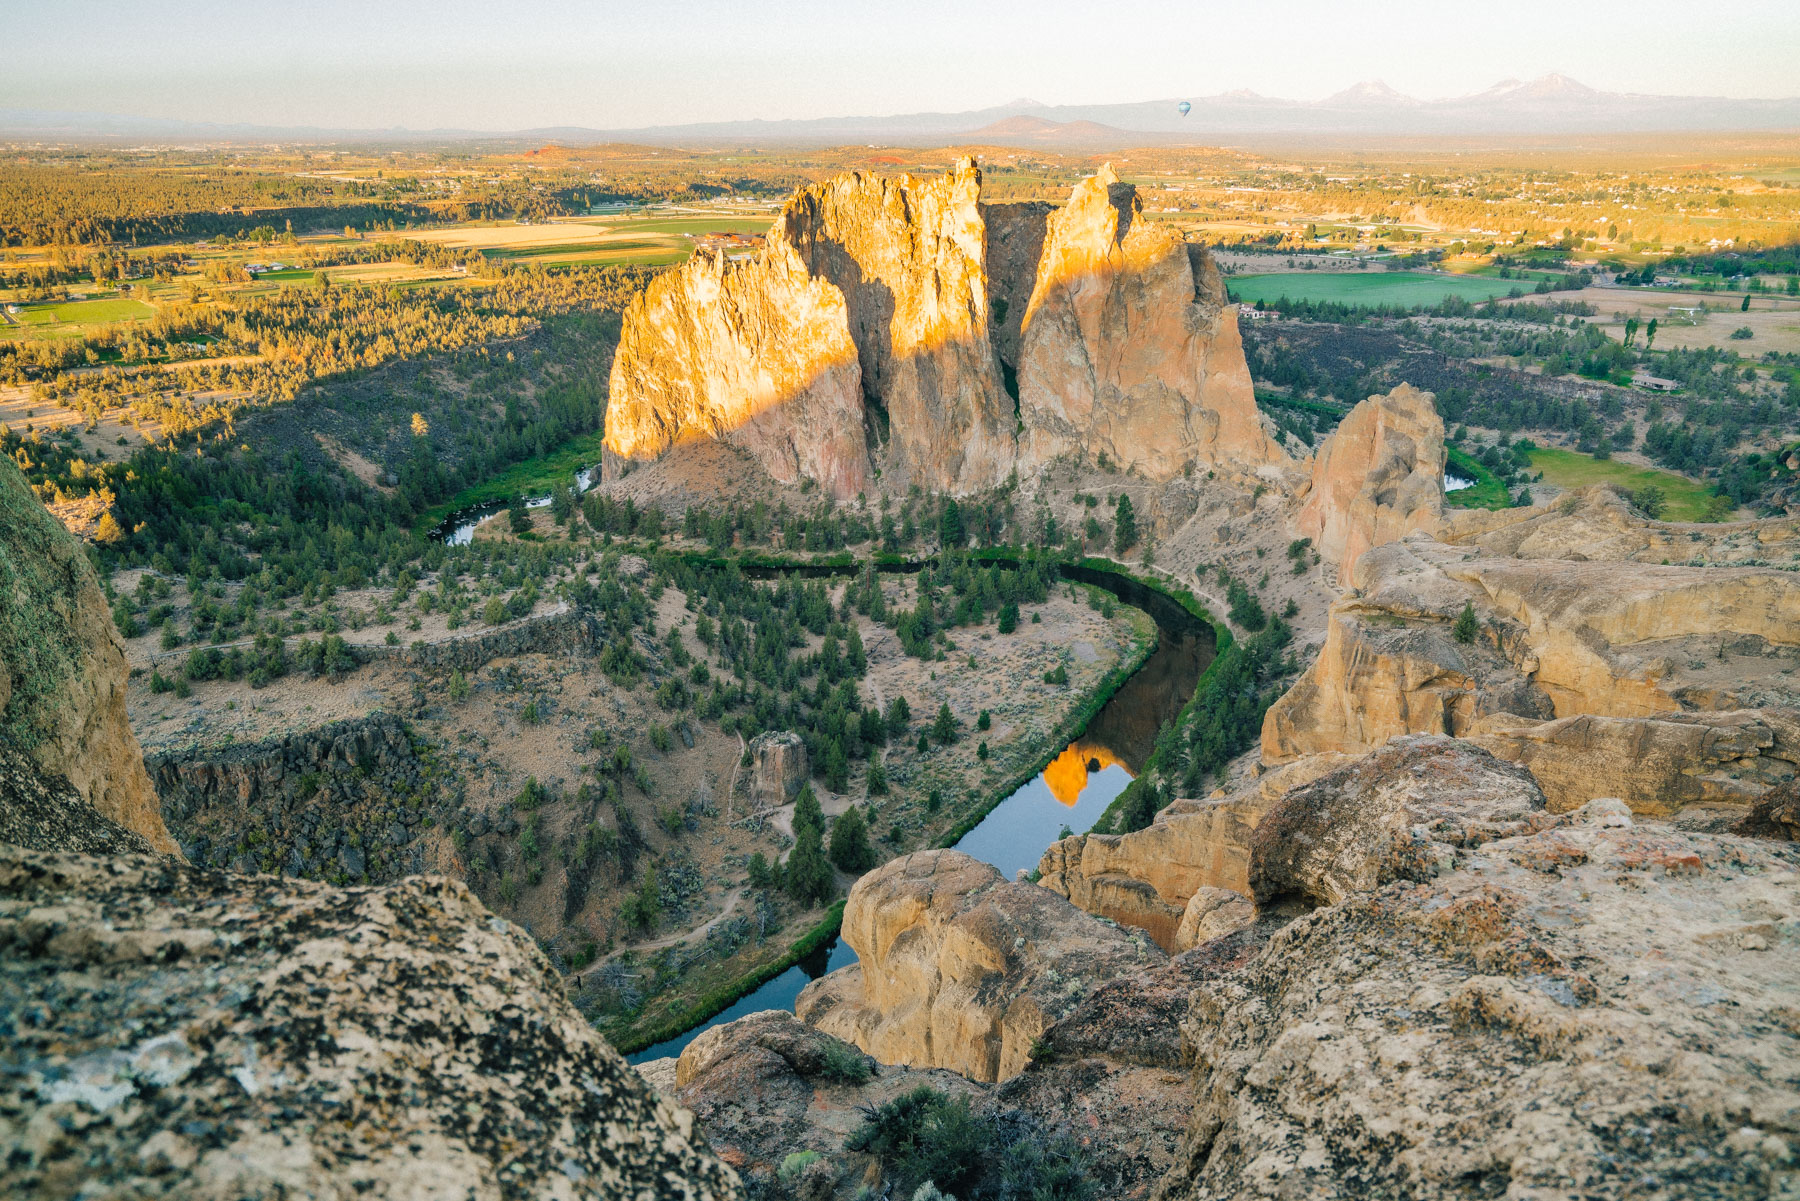
From the summit, you will see all of the Cascade Range on full display. We clearly saw Mt. Hood, Three Sisters, Broken Top, Mt. Bachelor and Mt. Jefferson.
After you’re done soaking in the views, you can start heading toward Monkey Face before making your way down. You will likely see many rock climbers in this area.
Be careful not to accidentally scale Monkey Face – it’s quite technical. Just kidding, there’s no way to make such a mistake.
If you’re not familiar with Monkey Face, see photo below.
Can you see the resemblance? Definitely from my father’s said. Still kidding. 😉

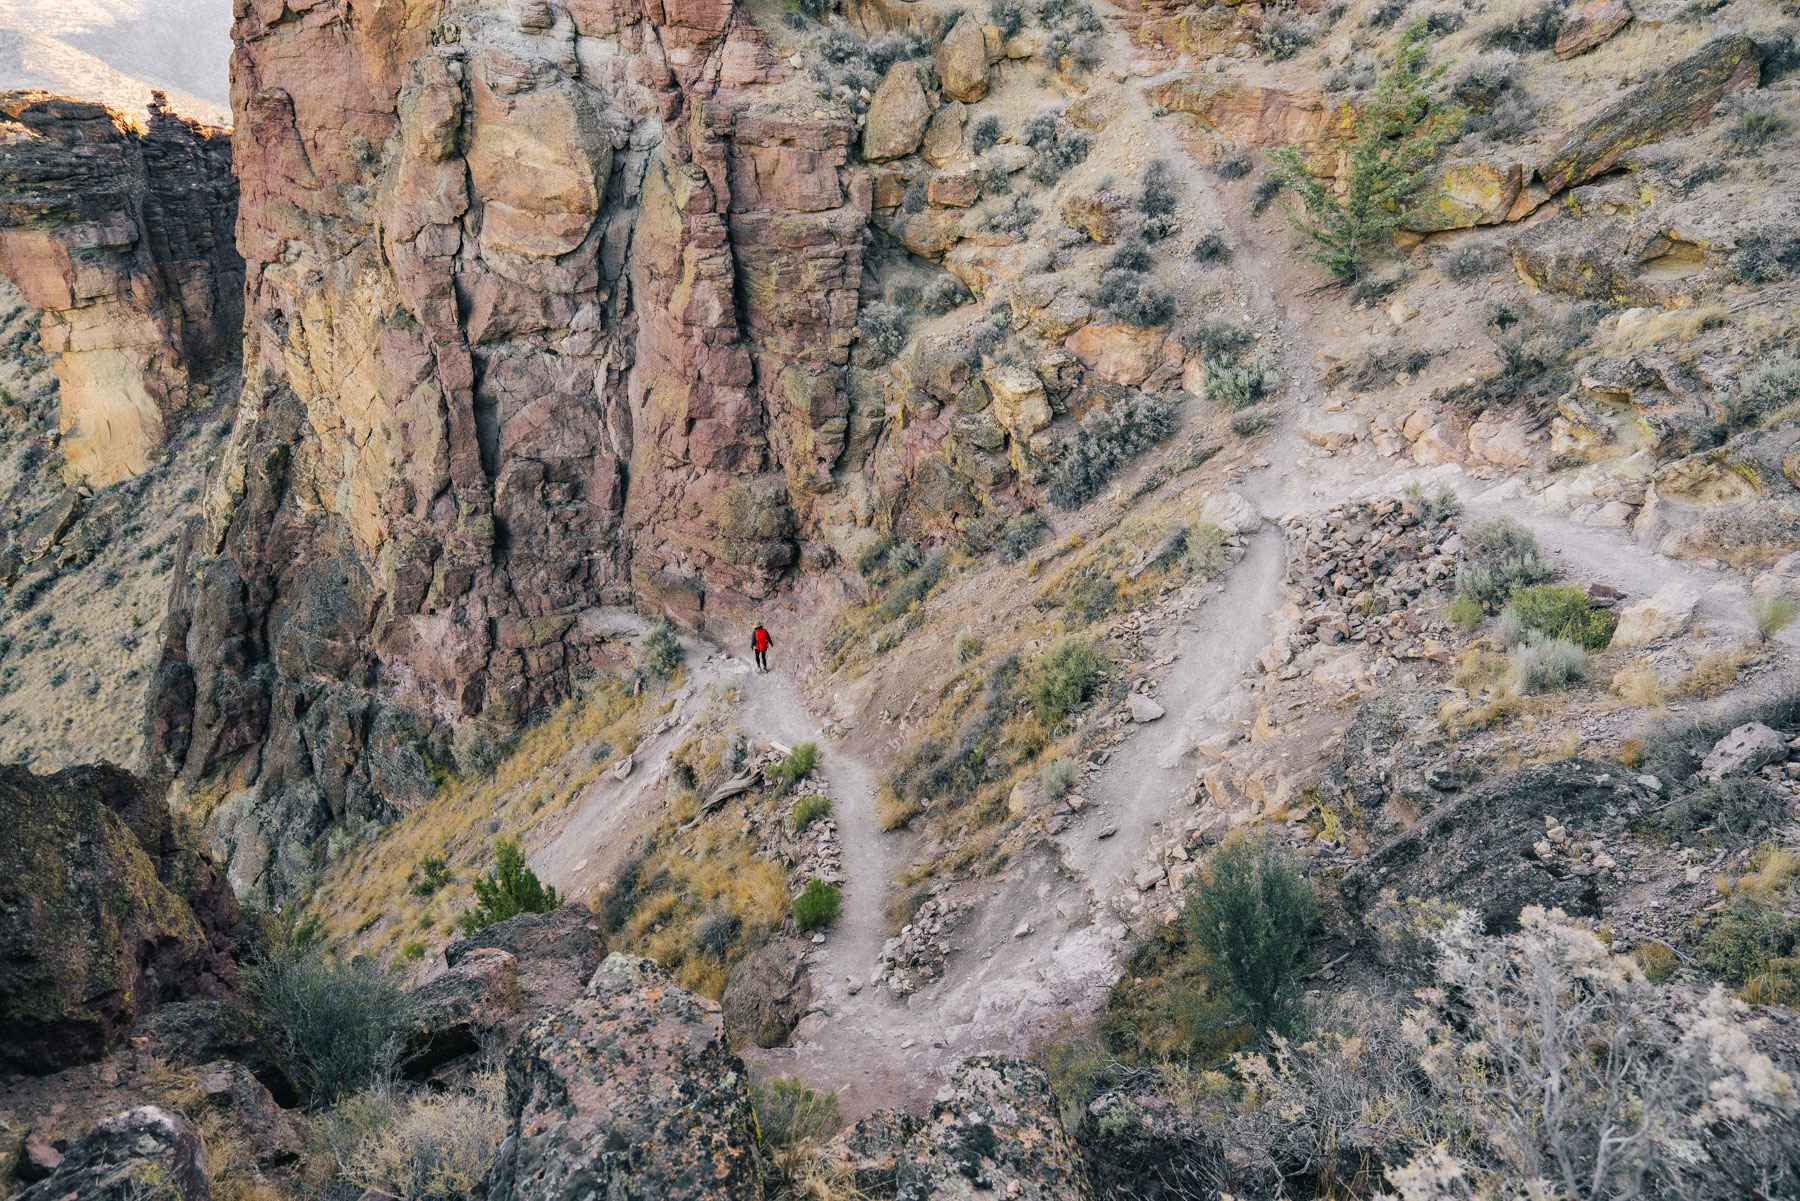
The switchbacks on the way down are SO steep. Make sure you’re wearing proper shoes for this hike, it’s too easy to slip! They don’t call this the Misery Ridge Trail for nothing.
Ah, but at least going down is easier than going up.
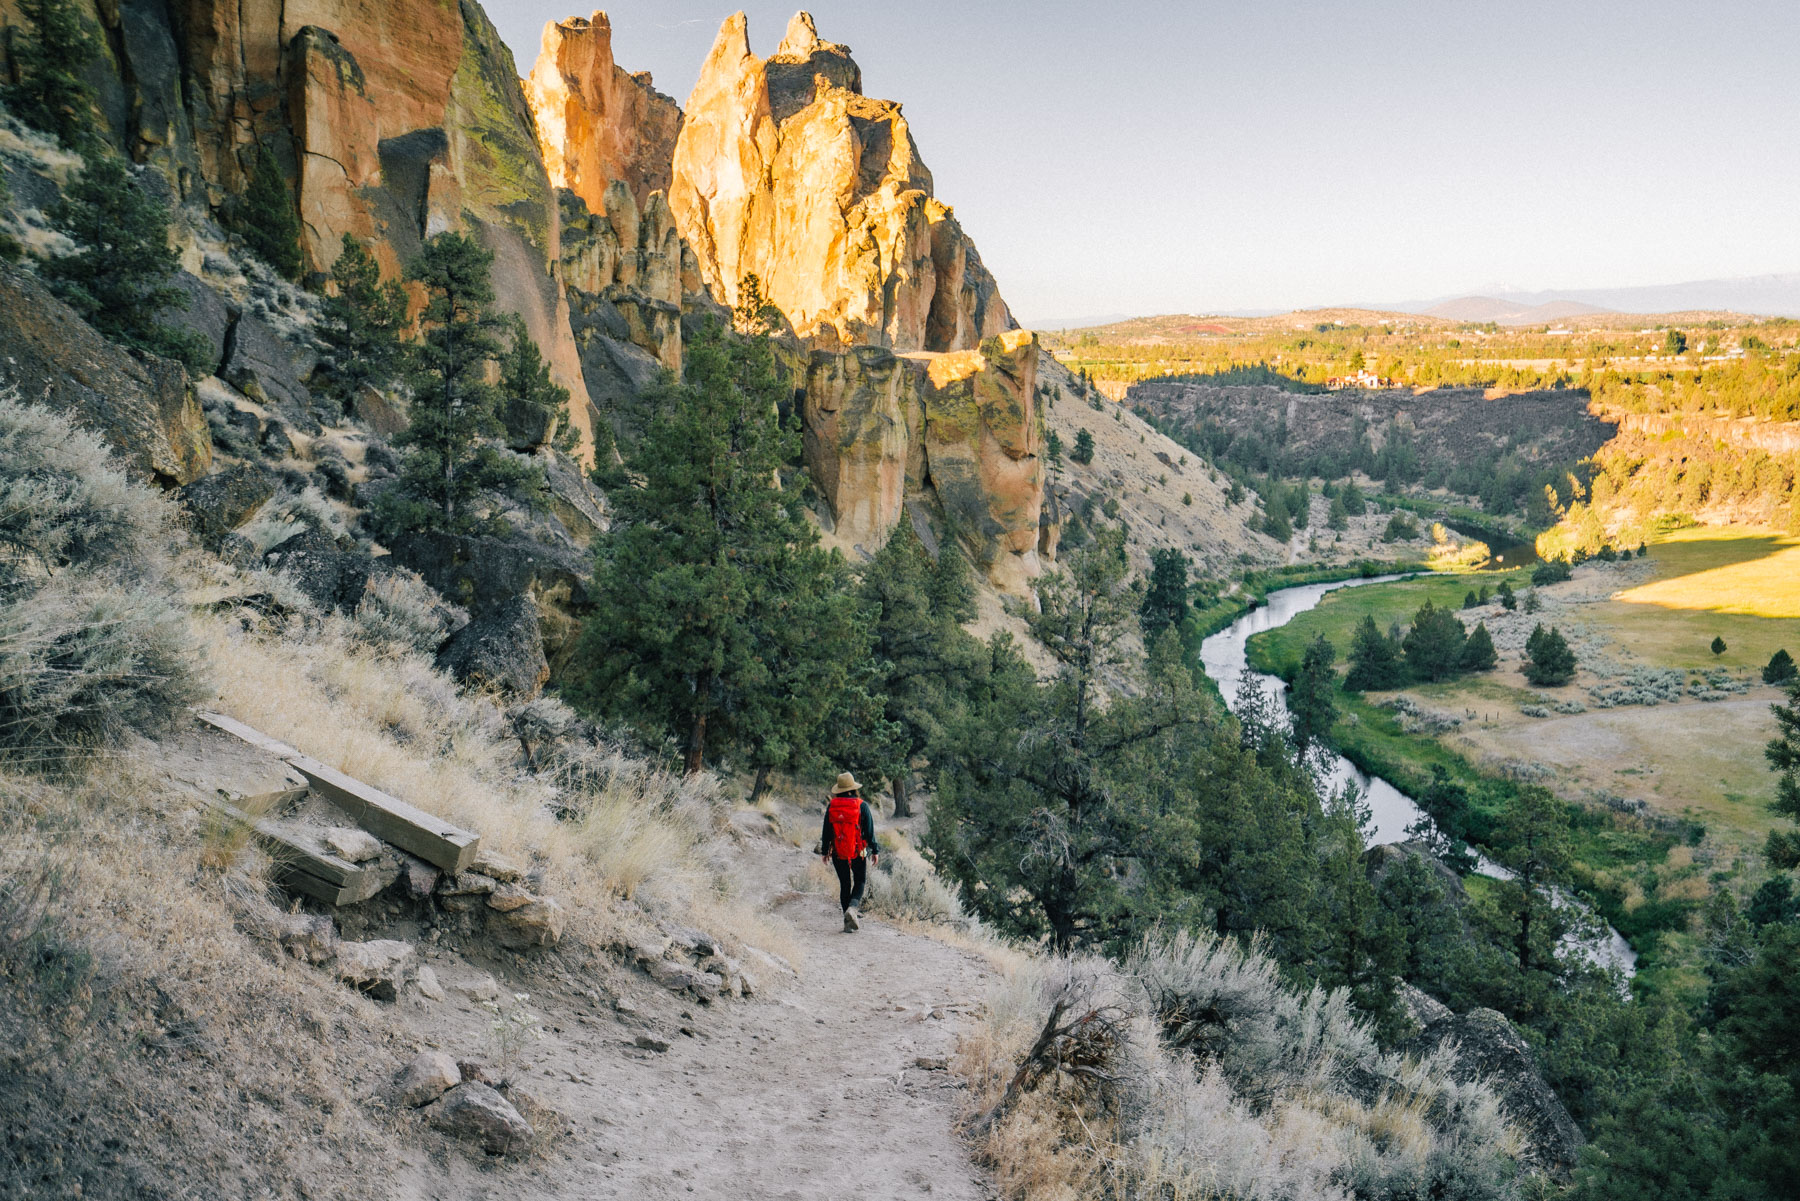
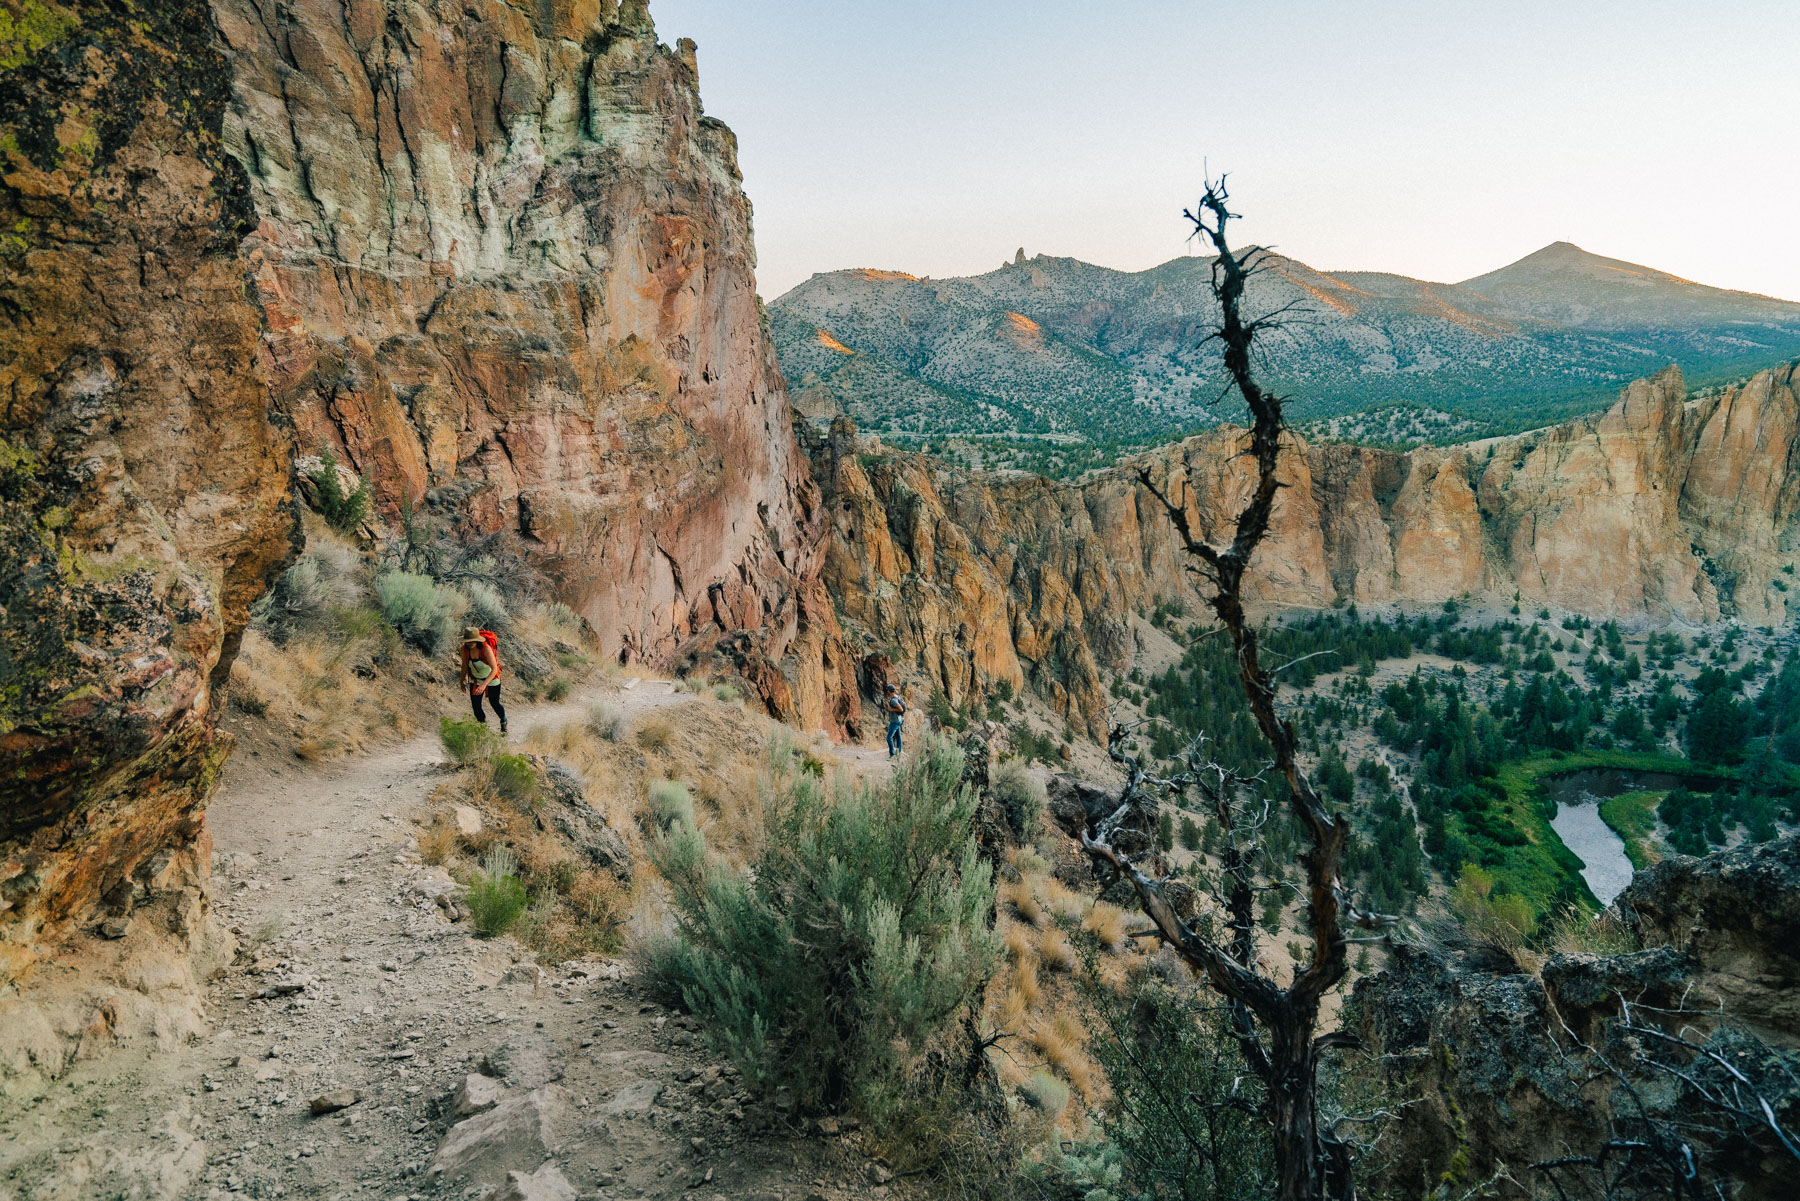
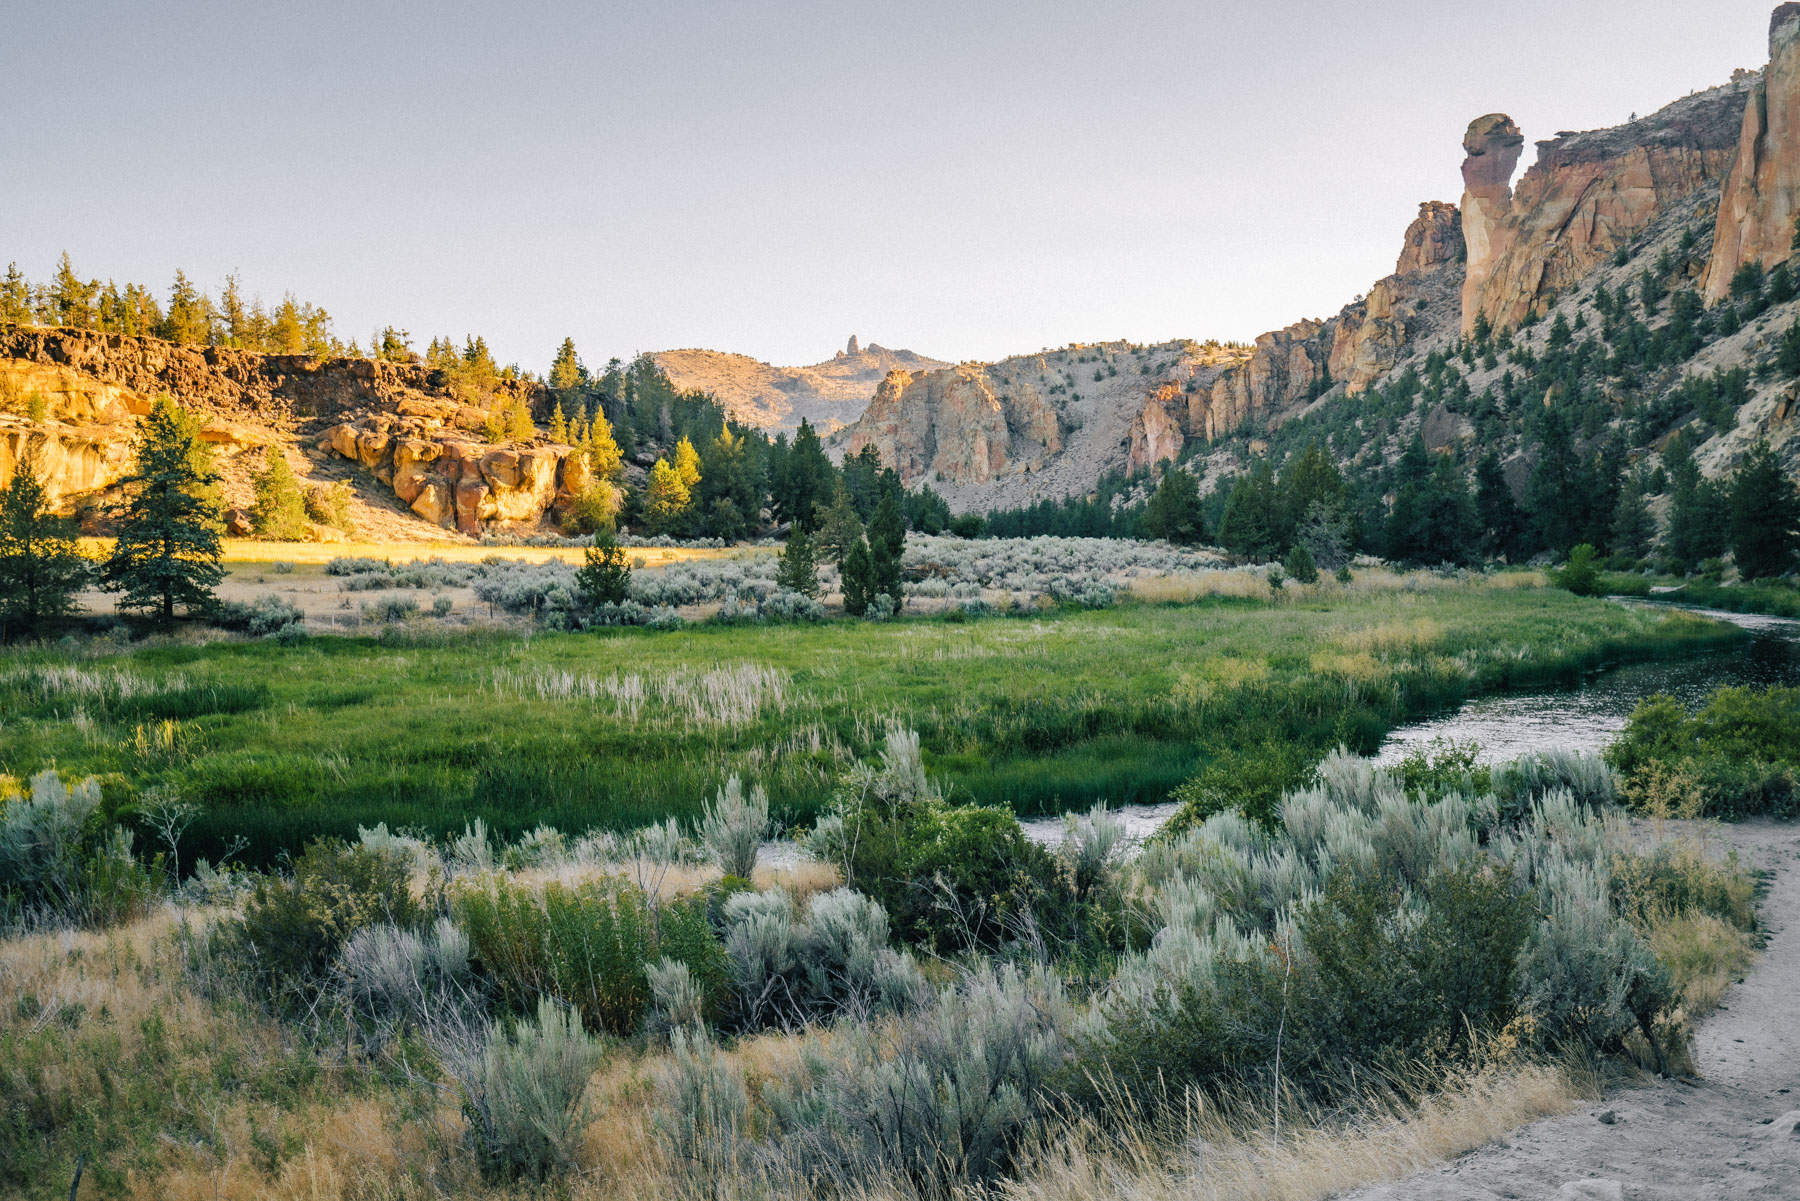
After the steep switchbacks end, the trail flattens out and leads you along the riverbank to the River Trail.
The scenery on this part of the hike was breathtaking (see photo below). I found myself stopping every other minute to get more photos.
Continue along the trail that follows the river and it will lead you directly back to the parking lot.
The hike may be over, but don’t worry – the memories will last a lifetime.
Final Thoughts on the Misery Ridge Hike
I first learned about the Misery Ridge Trail from my mom, and at first I thought “ma, what do you know?”
Spoiler alert: everything.
It took me a while to make my way to Smith Rock State Park, but as soon as I did, I couldn’t stay away. I’ve been back three times since, and I can guarantee the views will keep you coming back, too.
The moral of the story? Listen to your mother. And hike the Misery Ridge Trail.
Where is Smith Rock State Park?
Smith Rock is located in Terrbonne, Oregon. About a 30 minute drive from Bend.
Did you know? Smith Rock State Park is a world-famous climbing destination, take your time watching climbers ascend and descend the massive rockfaces.
Further Reading
- 10 Best Hikes in Bend, Oregon (our most popular post!)
- Weekend Guide to Bend, Oregon
- 20 Honest Pros and Cons of Living in Portland, Oregon
I hope you found this guide to hiking the Misery Ridge Trail at Smith Rock State Park helpful. Please don’t hesitate to reach out with questions – always happy to help!
Misery Ridge Trail, Misery Ridge Hike, Misery Ridge Trail Oregon, Misery Ridge Hike, Misery Ridge Trail, Misery Ridge Hike, Misery Ridge Trail Oregon, Misery Ridge Hike, Misery Ridge Trail, Misery Ridge Hike, Misery Ridge Trail Oregon, Misery Ridge Hike, Misery Ridge Trail, Misery Ridge Hike, Misery Ridge Trail Oregon, Misery Ridge Hike,
Happy hiking!
Antonina


Pretty sure this loop is 3.5 miles (not 5.5). Great photos! Love the hot air balloon!
Hi Kelly,
Thanks for your comment! The loop clocked in at 5.5 miles on my watch. 🙂
Have hiked this trail many times I prefer to hike in reverse of what the author recommended more gradual going up and stairs are easier coming down
Thanks for pitching in with your preference, I think readers will find this helpful. 🙂